If the project is not checked out, check it out as described in Checking Out and Checking In a Project.
In the module tree, select the required table.
The selected table is displayed in the right pane in read mode.

Figure 14: Table opened in OpenL Web Studio
If required, to switch to the business view or developer view, click the appropriate button above the table.
To switch the table to edit mode, perform one of the following steps:
-
Above the table, click the Edit Table button.
-
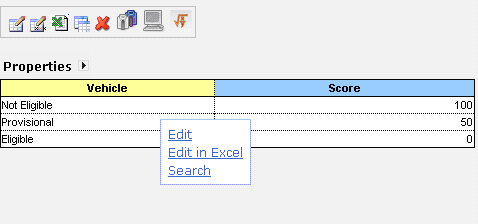
Hover the mouse pointer over the table and click Edit.

Figure 15: Switching to edit mode
The table cannot be switched to edit mode if the project is not checked out.
Note:Alternatively, the file can be edited in Excel. In the local mode, the rule file is opened in Excel, and changes become available in OpenL Web Studio upon Excel file saving. In the remote mode, the file must be saved locally and after modifying, uploaded via the repository.
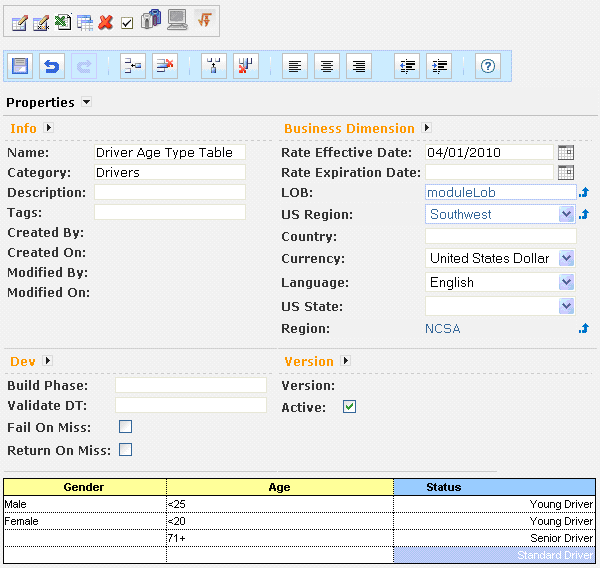
The table is switched to edit mode.

Figure 16: Table in edit mode
The edit mode provides the following buttons above the table:
Modify cell values as required.
A cell can be modified by double clicking it or pressing Enter while cell is selected.
To save changes, click Save  .
.


